Are you tired of restrictive TV subscriptions and clunky hardware setups? IPTV (Internet Protocol Television) is revolutionizing the way we consume live TV, movies, and on-demand content. By streaming directly through the internet, IPTV allows you to turn your Windows PC into an all-in-one entertainment hub with unparalleled convenience and flexibility.
Whether you’re a seasoned tech enthusiast or just starting out, this guide will walk you through everything you need to know about IPTV. From understanding what it is to setting it up with the most popular players like IPTV Smarters Pro, VLC Media Player, and MyIPTV Player, this guide ensures that you’re equipped with all the tools for a seamless streaming experience.
What is IPTV and Why Should You Use It?
Understanding IPTV

IPTV stands for Internet Protocol Television. Unlike traditional broadcasting methods like satellite or cable, IPTV delivers television content over the internet. This means you don’t need a physical cable connection or satellite dish. Instead, all you need is a stable internet connection and a compatible device.
Think of IPTV as a Netflix-like experience, but instead of just on-demand shows and movies, you also get live TV channels, sports events, and much more.
How IPTV Works
IPTV works by delivering media content in three formats:
- Live TV Streaming: Watch live broadcasts as they happen, similar to traditional TV.
- Time-Shifted Media: Pause, rewind, or replay programs (like DVR).
- On-Demand Content: Access a library of movies, series, or shows anytime.
Benefits of IPTV on Windows
- Flexibility: Watch your favorite shows or movies on a larger screen or connect to an external display for a home-theater experience.
- Cost-Effectiveness: IPTV subscriptions are often more affordable than cable or satellite TV services.
- Multitasking: With IPTV on Windows, you can seamlessly switch between work and entertainment.
- Customizability: You can easily configure playlists, change settings, and personalize your viewing experience.
Prerequisites: What You Need Before Setting Up IPTV
Before diving into IPTV setup, ensure you have the following essentials:
- Stable Internet Connection
- Recommended speeds: At least 10 Mbps for HD content and 25 Mbps for 4K streaming.
- Compatible IPTV Subscription
- Subscribe to SOLIDIPTV today and receive Your M3U playlist URL or Xtream Codes API credentials.
- A Suitable IPTV Player
- Some popular options include:
- IPTV Smarters Pro
- VLC Media Player
- MyIPTV Player
- Some popular options include:
- Windows PC with Adequate Specs
- Ensure your PC has enough storage and processing power to handle streaming without lag.
Step-by-Step Guide: Setting Up IPTV on Windows
1. Setting Up IPTV Smarters Pro

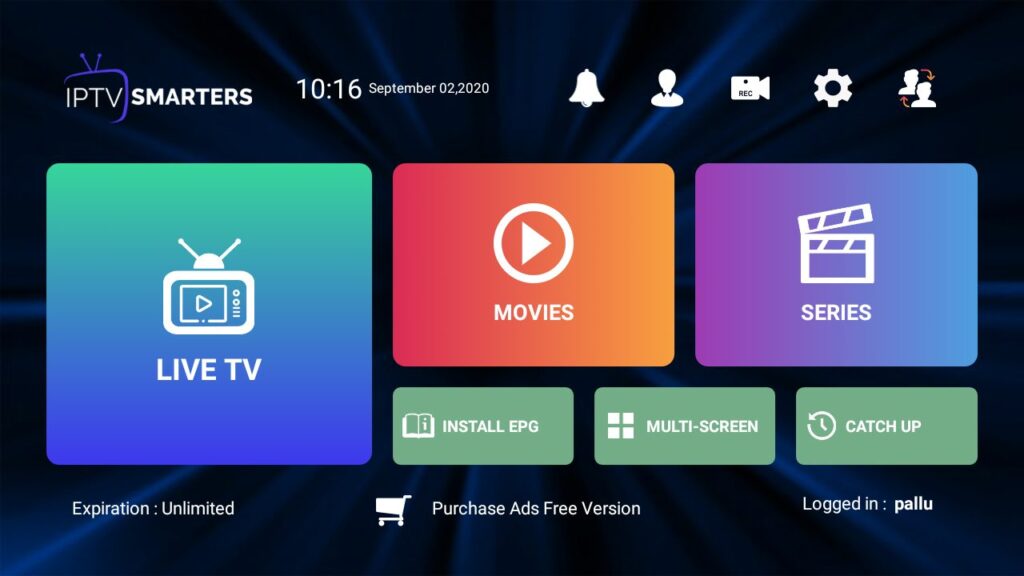
IPTV Smarters Pro is one of the most user-friendly and feature-rich players available for Windows.
Steps:
- Download and Install
- Visit the official IPTV Smarters website or Microsoft Store and download the app.
- Launch the App
- Open IPTV Smarters Pro and log in using the credentials provided by your IPTV provider.
- Import Playlist
- Upload your M3U playlist or EPG link. You can copy and paste the URL provided by your SOLIDIPTV into the app’s interface.
- Browse and Watch
- Navigate through categories like Live TV, Movies, or Series, and enjoy your content.
Features:
- Multi-screen streaming.
- Picture-in-picture (PIP) mode for multitasking.
2. Using VLC Media Player
VLC Media Player is a popular, open-source option for IPTV streaming.

Steps:
- Install VLC Media Player
- Download the app from the official VLC website.
- Open VLC
- Launch the app and go to “Media” in the top menu, then select “Open Network Stream.”
- Enter Playlist URL
- Paste the M3U playlist URL provided by your SOLIDIPTV r into the field.
- Start Streaming
- Click “Play,” and VLC will begin loading your channels. Use the playlist panel to switch between channels.
Features:
- Lightweight and resource-efficient.
- Supports a variety of formats beyond M3U playlists.
3. Trying MyIPTV Player
MyIPTV Player is a Windows-exclusive app available in the Microsoft Store. It’s an excellent choice for those seeking a native Windows experience.
Steps:
- Download MyIPTV Player
- Go to the Microsoft Store, search for MyIPTV Player, and install it.
- Configure Settings
- Open the app, navigate to “Settings,” and add a new playlist by entering your M3U URL or uploading the file directly.
- Load the Playlist
- Select your newly added playlist to load channels and start exploring content.
- Customize Playback
- Adjust settings like EPG sync, video quality, and subtitles for a personalized experience.
Features:
- User-friendly interface.
- Integration with Windows features like Cortana and notifications.
Pro Tips for Optimizing Your IPTV Experience
- Use a Wired Connection: Ethernet connections provide more stable streaming compared to Wi-Fi.
- Invest in a VPN: Protect your privacy and avoid regional restrictions by using a reliable VPN service.
- Regularly Update Software: Keep your IPTV player and playlists updated for a bug-free experience.
- Test Different Players: Experiment with multiple IPTV players to find the one that best suits your preferences.
Common Troubleshooting Tips
- Buffering Issues: Check your internet speed and close unnecessary background applications.
- Playlist Not Loading: Verify that your IPTV provider’s URL is correct and active.
- No Audio or Video: Ensure the media player supports the format of the content being streamed.
Conclusion

Setting up IPTV on Windows opens up a world of entertainment possibilities. With user-friendly apps like IPTV Smarters Pro, VLC Media Player, and MyIPTV Player, you can easily access live TV, movies, and on-demand content with minimal effort. Whether you’re streaming for leisure or replacing traditional cable services, IPTV provides a flexible and cost-effective solution.
Now that you’re equipped with this guide, you can confidently set up and enjoy IPTV on your Windows PC. So why wait? Start exploring and redefine your entertainment experience today!

